


10 Feb Tips for Sharing Ministry Space – Part 7: Time for Decor – Shared or Movable Backdrops!
This post is part of a series on how to share environment space with other ministry teams. It might also be helpful for children’s ministry leaders that work in a portable setting.
- Intro – Share and Share Alike
- Before Decor – Plan Together
- Before Decor – Communication
- Before Decor – Creating Agreements
- Time for Decor – Think Portable
- Time for Decor – Hanging Stuff Up
- Time for Decor – Shared or Movable Backdrops
- Time for Decor – Portable Signage
- Final Thoughts & Our New Space
Time for Decor!
SHARED OR MOVABLE BACKDROPS
Another way to enhance your environment and tailor it to your specific ministry is to create a backdrop or focal wall. This can be a bit of a problem if you share ministry space because your focal wall cannot be permanent. Since it will need to be portable, you’ll want to think through how to create backdrops that can be quickly and easily changed. This need for multiple and movable backdrops is what led to our love affair with insulation foam (not to mention a hot knife and a projector)! You can read more about that in this post, but for now, here are some of the basic things we’ve done to create portable backdrops:
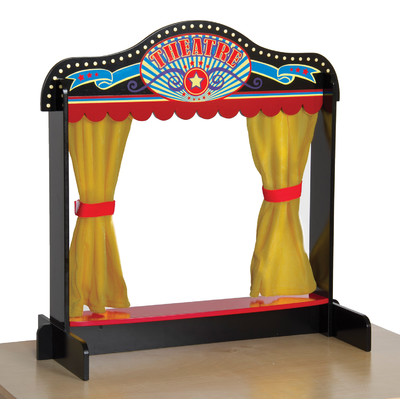
 Create a “permanent” frame-type structure for your focal wall/backdrop – We have a stage in our environment that is permanent. On top of our stage, is another permanent structure – our Family Experience (FX) backdrop. This structure is made from 2×4’s and plywood that have been painted to look like a clubhouse. This frame and permanent backdrop, offer a sturdy base for the rest of the backdrops that we create for various ministry environments. Obviously, you do not need to have an FX to create a frame for a backdrop. There are endless options for creating the frame part of the backdrop. It will depend on how portable you need to be and the resources you have available to you. Here are a few ideas:
- 2×4’s and raw plywood can be attached to create a frame. From there, backdrops can be attached to the frame using velcro, so they can be removed from the frame when need be.
- Pipe and drape is another structure that could stand as a potential frame for a backdrop. The backdrop would need to attach to the pipe and hang from it, or could be pinned into the drape itself.
- If there is no way of creating a frame structure for your backdrop, you could always prop the backdrop against a wall. It would just need to be affixed somehow or have other elements placed in front of it (props, set design, etc.) so that backdrop does not fall or tip forward.
- Other options if you cannot create a permanent frame could include hanging the backdrop from your ceiling (suggestions for hanging things portably can be found here), or creating a picture frame-type of stand on the back of each individual backdrop panel. This would enable you to have panels that are extremely portable and can stand freely. The only problem with this option is storage, as they won’t stack as easily. I haven’t tried this, but I imagine you could create picture frame-type structures and store them separately from the backdrop until you needed them each week. Then you could attach them with 3M Strips, velcro, or something that allows you to pull things on and off regularly.

 Create the actual backdrops for the frame structure (insulation foam is our backdrop of choice). Our ministry-specific backdrops are made from 8×4 foot panels of insulation foam. We love this material because it is lightweight (helpful when you need to switch backdrops around as much as we do) and very versatile. You can paint it, carve it, pin things into it, paint over it, carve it again, and use it in a variety of ways. It isn’t too expensive and can be used and reused. We paint insulation foam panels based on the specific needs of each ministry environment:
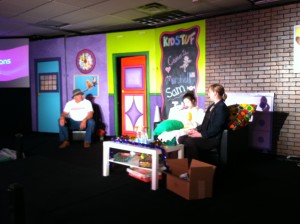
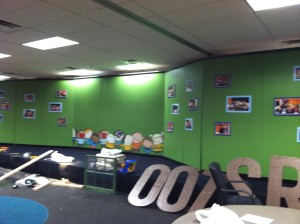
 For children’s ministry, we change the backdrop often, painting the panels various colors, projecting images on them and then painting or pinning elements on top of the insulation foam backdrop, etc. All of this is created or recreated each month, depending on the theme of our environment.
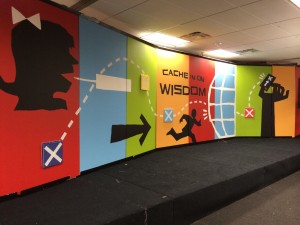
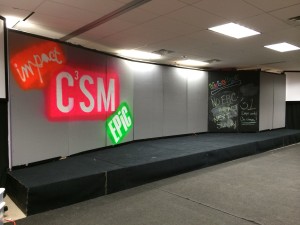 Our student ministry uses a static backdrop of foam panels painted gray, with their logo spray painted on one side of it. They add signage or decor to it, based on their teaching series.
- We usually keep one set of insulation foam panels painted black for a streamlined, multi-purpose look.


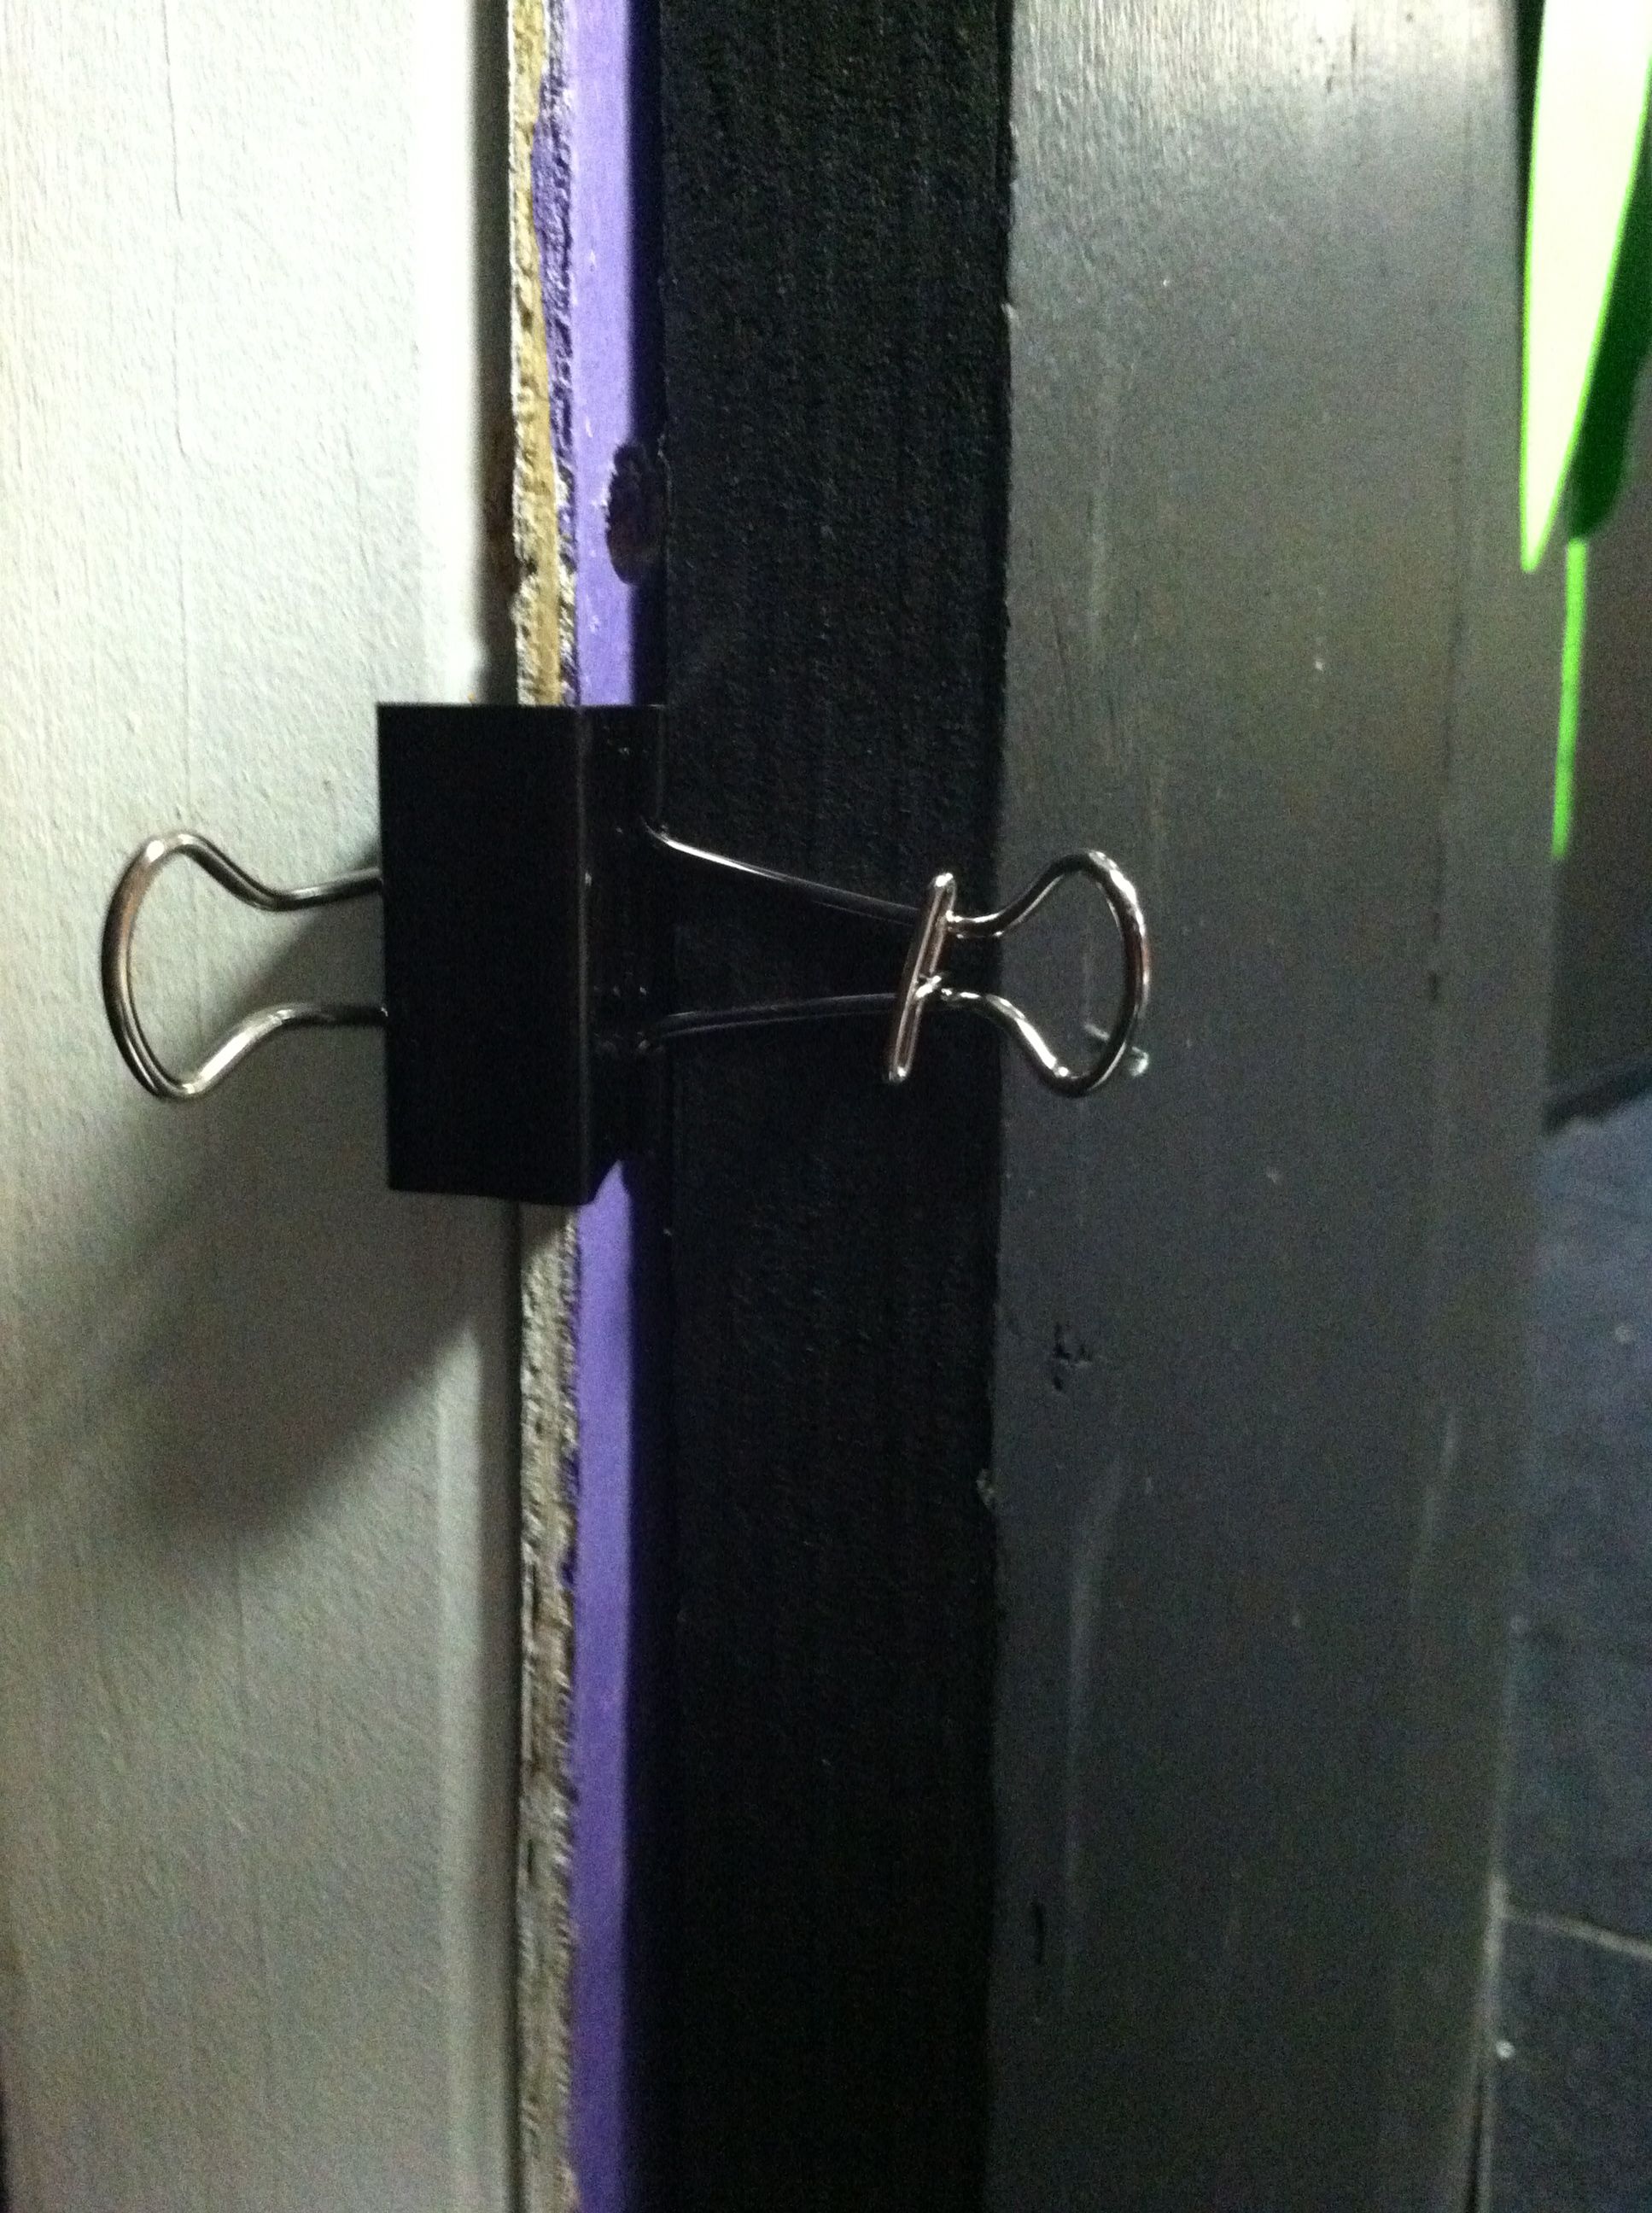
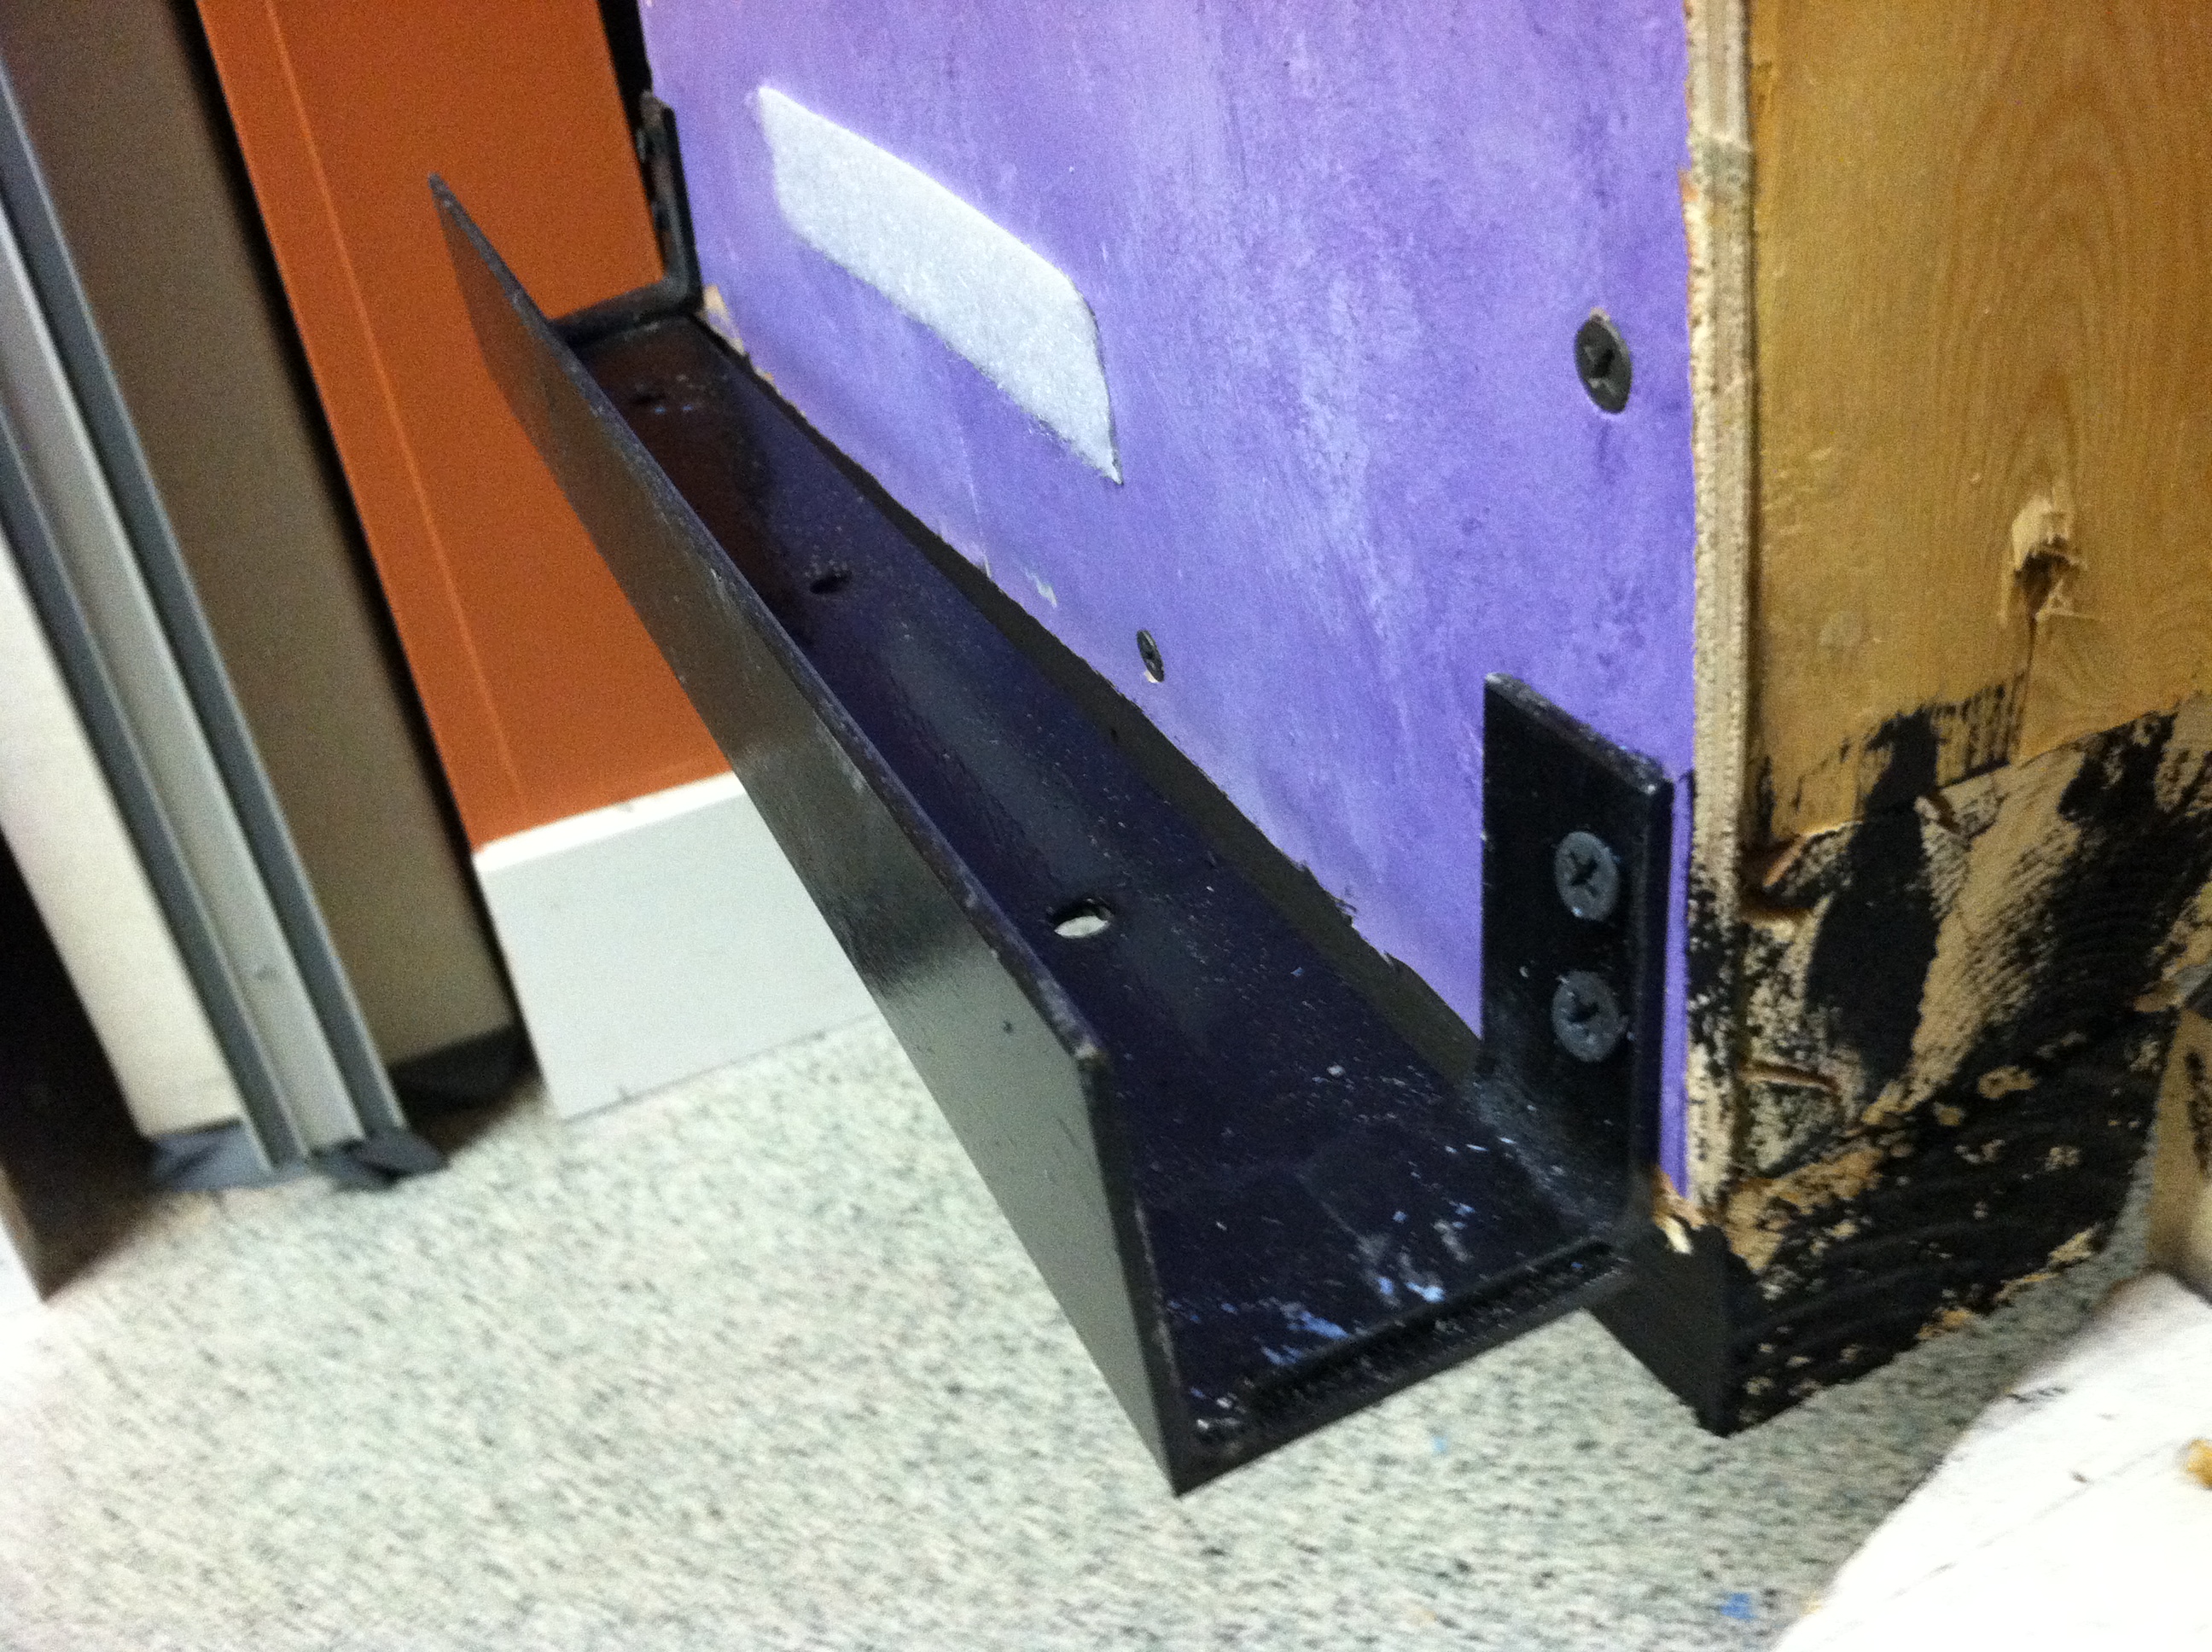
- Attach the backdrop to the permanent frame – We have gone through a few transformations as to how we attach our backdrop panels to our permanent backdrop frame. We actually are creating a new plan for our new space (more on that at the end of this series) but, it all started with binder clips and T-Pins. From there, it moved to a sheet metal structure that we attached to the permanent backdrop. This structure holds our foam panels in place and allows us to change them quickly. Read about how to utilize both of those options here.
HAVE A FOCAL WALL – EVEN IF IT HAS TO BE PORTABLE!
The focal wall of your environment is one of the most important aspects of your decor. It is where the focus of everything you are trying to convey begins. It acts as an anchor and a centerpiece for what you are teaching. Even though it takes a bit of work to make a backdrop/focal wall portable, I encourage you to do it. It offers a connecting point for your large group leaders (i.e. storytellers) and a WOW factor for the kids that come into your environment each week.
I’d love to hear about how you create your backdrops and how you’ve solved the problem of making your backdrops portable?
