22 Jan Evolving Set Design – Then, Now, and What’s to Come!
Way Back When-8 Years Ago
I landed at Community Christian Church about 6 months after it launched.
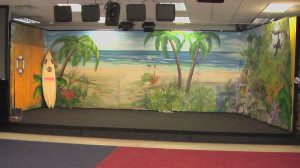
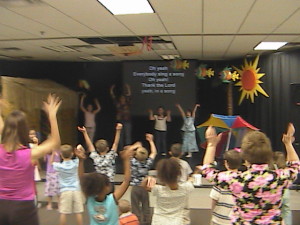 When I first arrived, the stage was set up to look like a beach. This was in keeping with the environment’s name – Discovery Island.
About a year after the church launched, we began a monthly FX. In preparation for this, the Children’s Ministry Director Nick Blevins, had a set/backdrop created for our monthly FX, as well as our weekly large group production. This set was originally created from nine 8’ x 4’ plywood panels. These panels were nailed into a frame that was secured to the stage floor (panels sitting on 2’x16′ frames) and had a mural painted along them that represented our theme for Discovery Island and could be flipped to represent the Clubhouse for our Family Experience.
When 252 Basics began using a theme-oriented approach for each virtue, we found our “island theme” clashed a bit and was getting in the way of creating a monthly theme. At the same time, our student ministry began sharing our space on Sunday afternoons and we had to find a way to make things more multi-purpose. And so began our love affair with insulation foam panels!
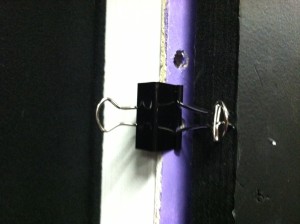
We began using insulation foam that we painted black to cover each of the panels on the permanent backdrop. We attached these panels at the top of our permanent set by using binder clips at the top of each panel and sticking a T-pin through the bracket into the foam. It was in no way a professional set-up, but it worked for us… for years!
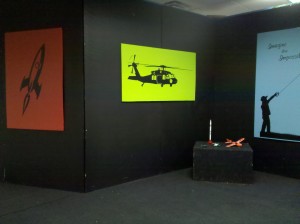 The insulation foam allowed us to pin other elements of the set on top and take them down each week, leaving just the black for our student ministry team to come in and make it their own.
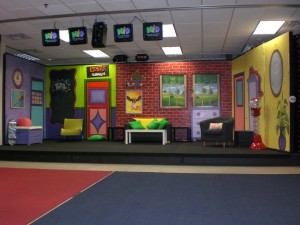
Since then, we’ve changed a lot about our set design. We’ve moved our entire stage from one end of the room to the middle in order to create a wider, more open environment for large group and small groups. In addition, our sets have become more elaborate as we’ve grown. We use different colored backdrops and have added more decor as well. We’ve hung things on the walls and from the ceiling. Student ministry has developed their own backdrop too. As a result, we needed a way to be able to change the entire backdrop each week from children’s ministry to student ministry.
Thankfully, we have someone in our church who works with sheet metal and he developed an entire way to hold the panels in place each week and quickly lift them in and out as we switch backdrops. The base of this system is comprised of pieces of black sheet metal that have been shaped into an “L” and permanently attached across the entire bottom of our original plywood set.
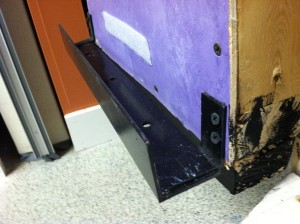 Up to 2 – 1 inch panels of insulation foam can sit inside each bracket.
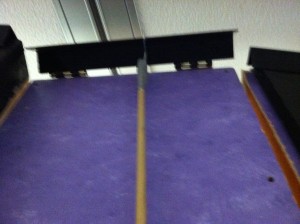 The same “L” shaped sheet metal pieces are attached across the top of our original plywood set, but each piece is attached with a hinge. This allows us to lift the “L” shaped brackets, and lift the insulation foam pieces of our backdrop in and out.
Once the insulation foam backdrop pieces (or brick walls/peg boards in the case of the photo below) are in place, we can close the bracket over them and this keeps them in place. From there, we pin or tape other elements of decor onto the backdrop to enhance our set.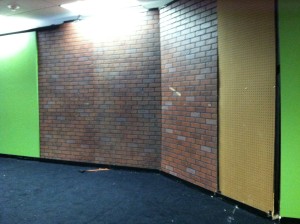
This system has enabled us to create more intricate sets while at the same time, being able to remove them each week so we can share the space with other ministries in our church. It’s been exciting to see how far we’ve come since our first set when we launched our church. It’s more exciting to think about what is ahead, as we have just purchased a building and will be designing our large group space from scratch. We’ll keep you posted on that as it happens!
How about you? What changes have you made to your set design and environments? What systems have you introduced to enhance your decor and space.


