05 May Patience – Play It Cool, Trust It’s Worth the Wait – May 2013 – Part 2
Life App: Patience
Theme: Play it Cool – Trust It’s Worth the Wait
Date: May 2013
Our Finished Product
We launched the Life App of Patience today. We worked up until the last minute on our environment, but it was worth it because I think there was a definite WOW factor! You can read about our preliminary brainstorming and our supply list in this post. Below are the notes about our finished product:
Process
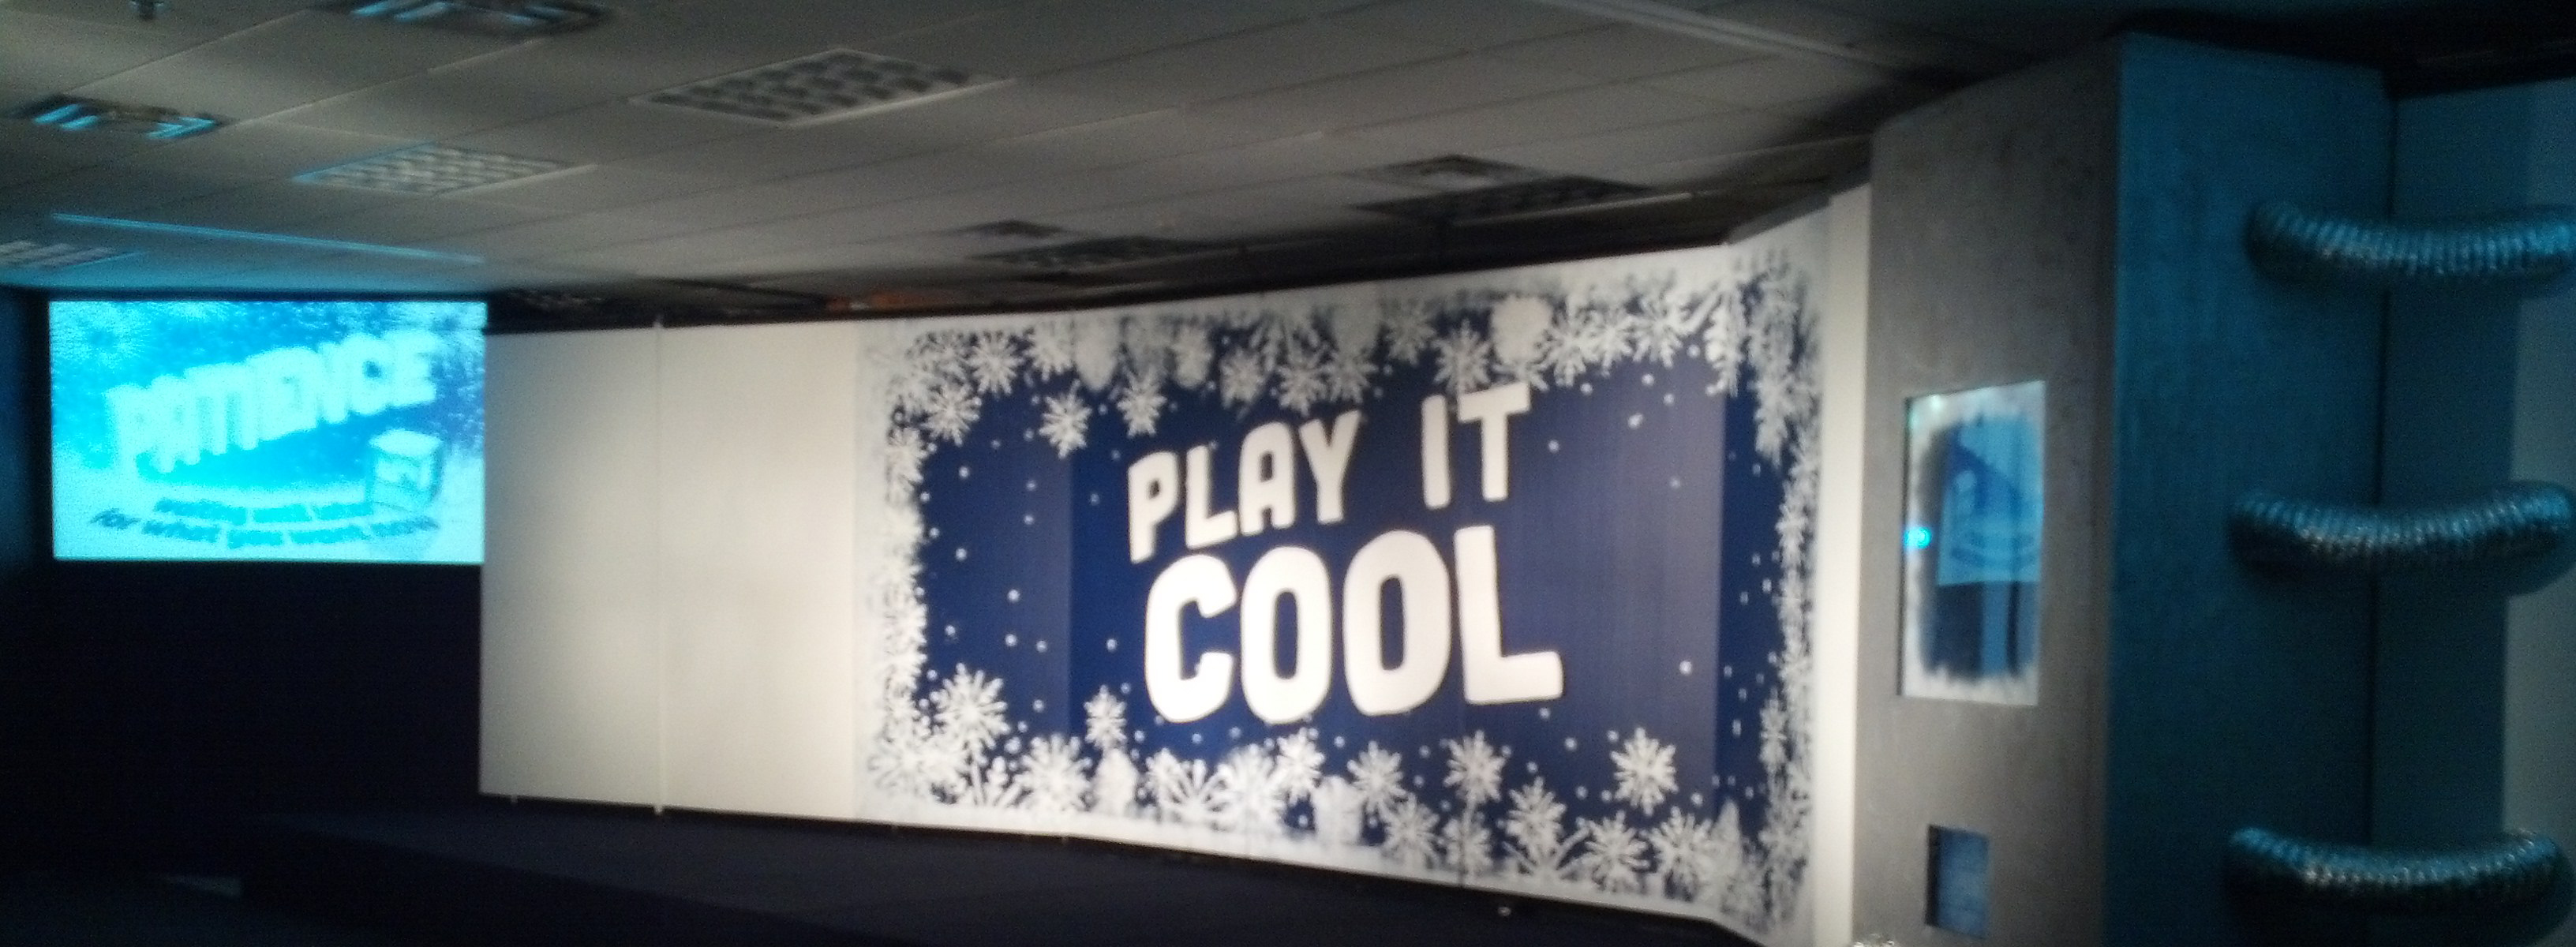
- We painted 5 of our panels (the center ones) blue. The outer 5 (3 on one side, 2 on the other) were painted white.

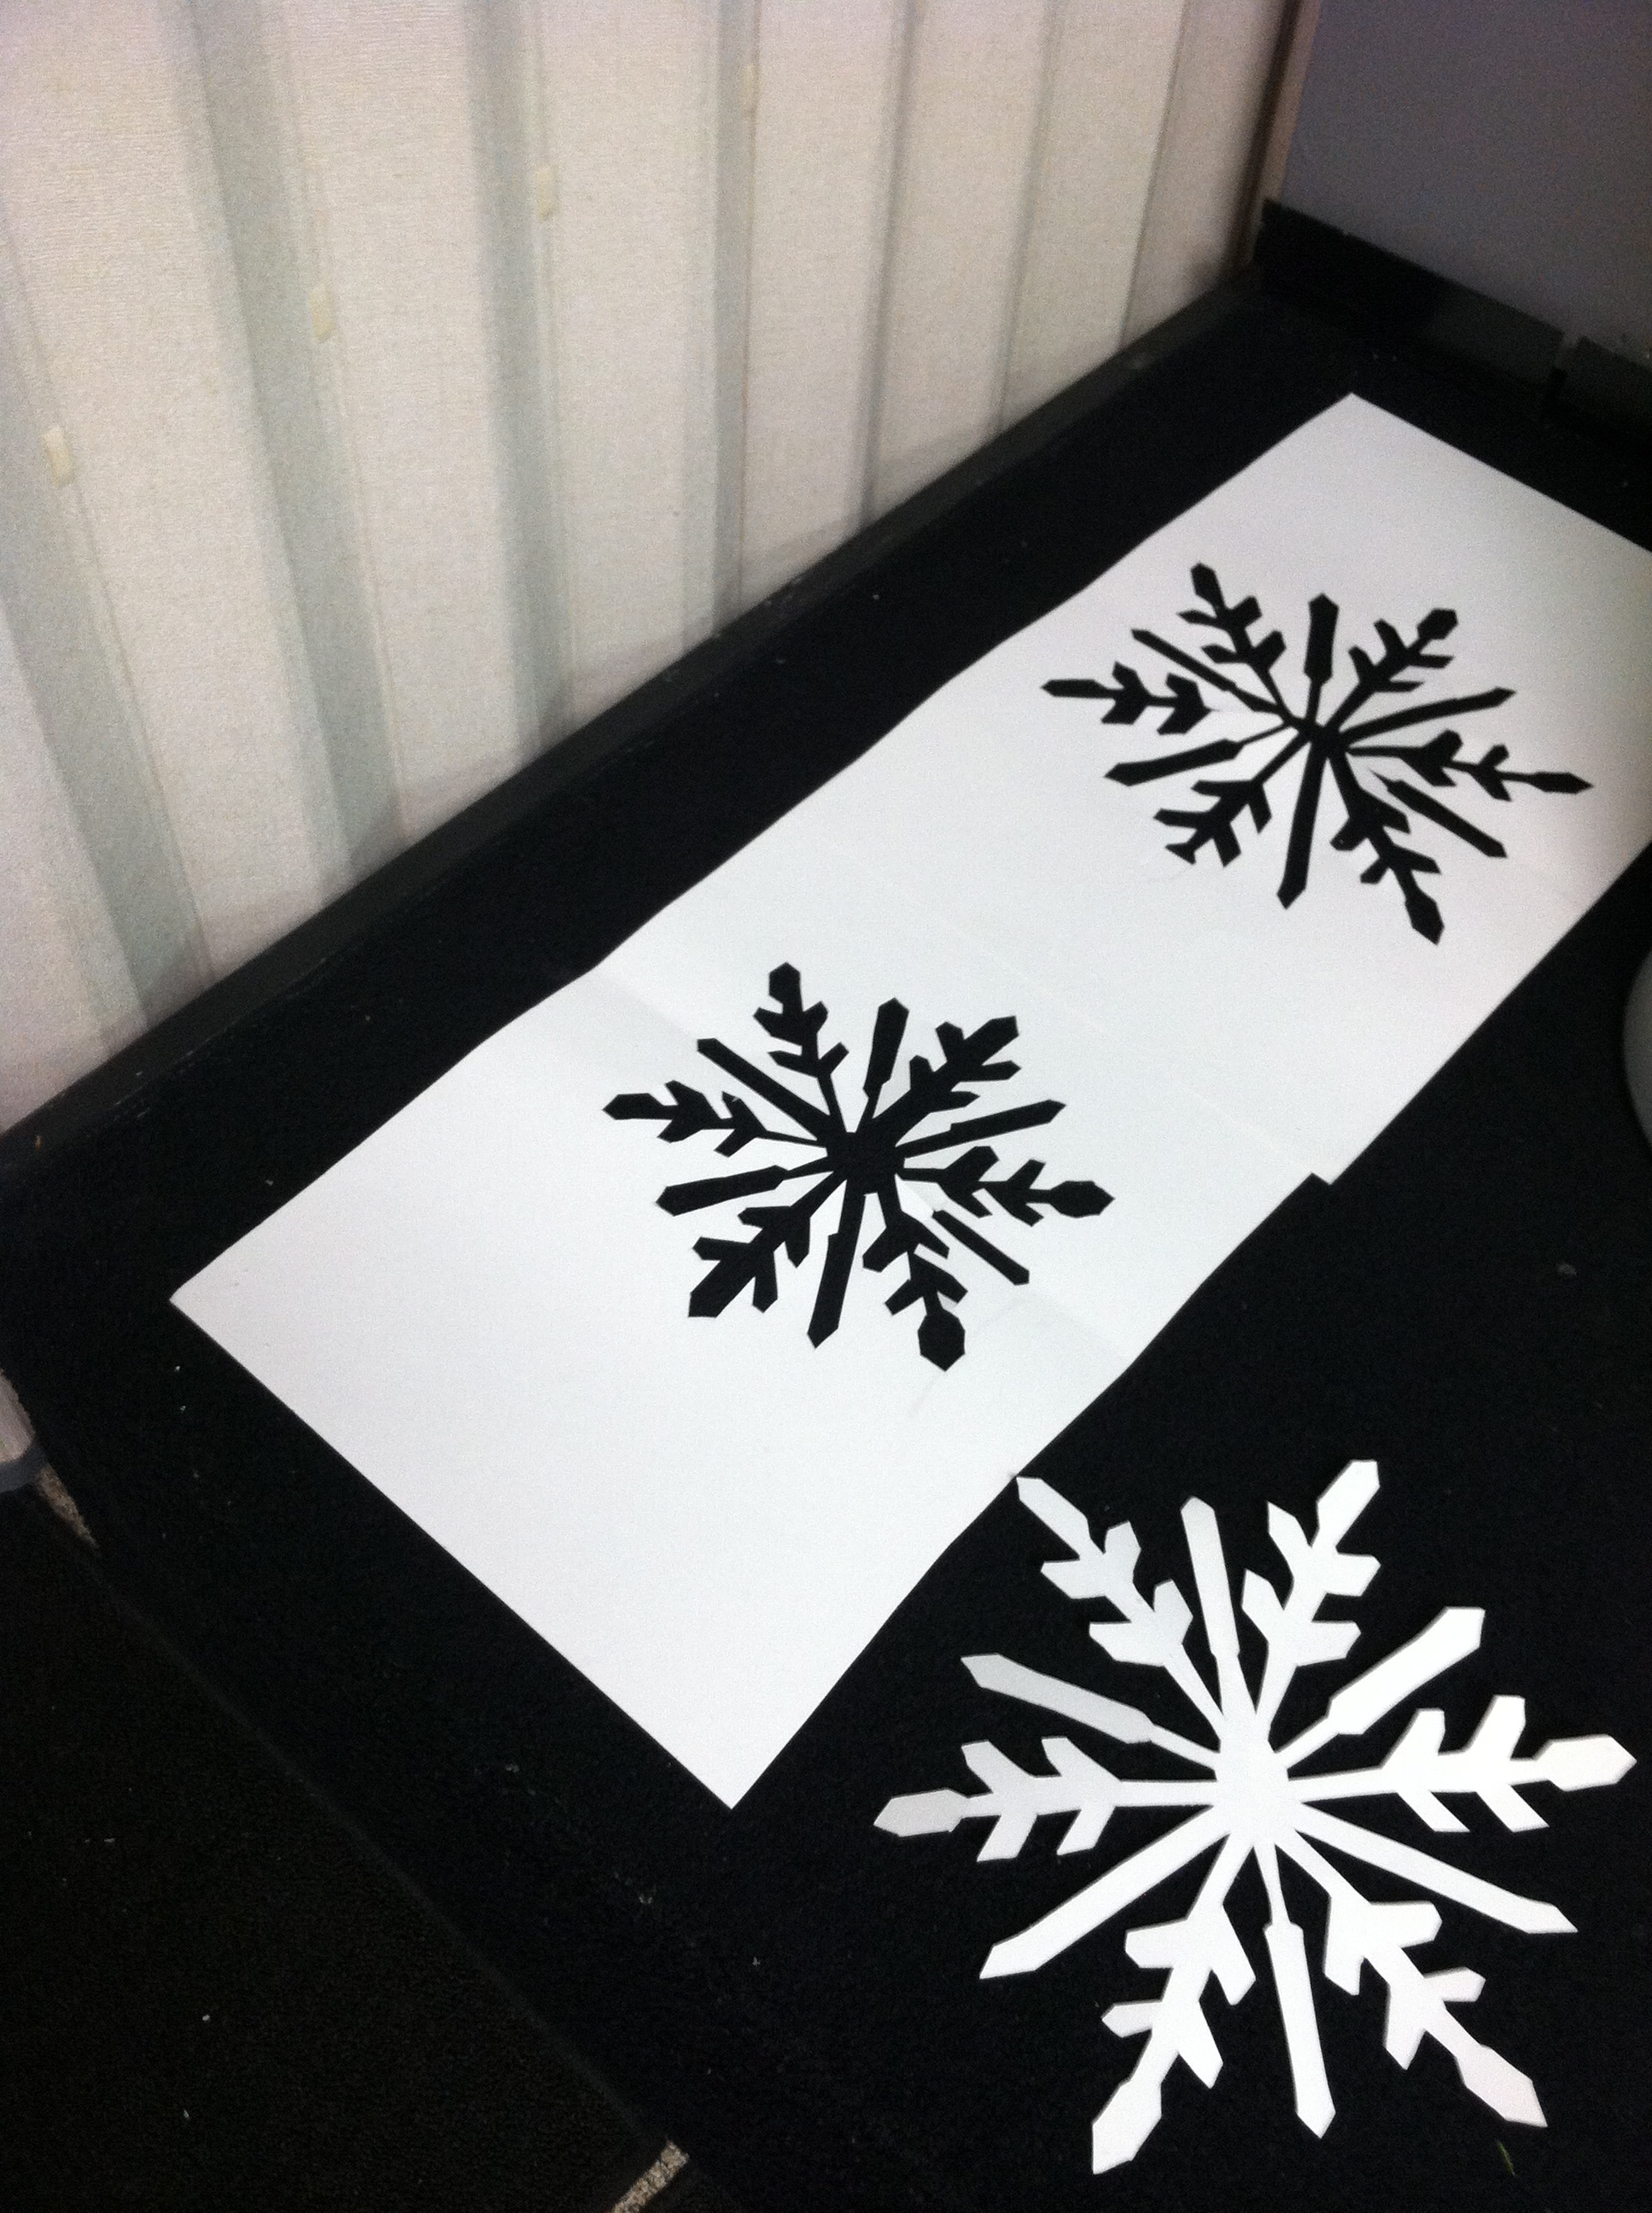
- We created several stencils of large snowflakes. We took an image from Google and enlarged it (using our projector) onto poster board. We cut the snowflakes out, leaving the poster board in one piece so that we had a stencil. This was crazy because every person that was cutting did the opposite to start… even though we thought we had it right. We cut the snowflake out instead of cutting a stencil of the snowflake. You have to be sure not to cut from the edge of the poster board in. Everything gets cut from the center and there should be no cuts to the edge of the poster board.

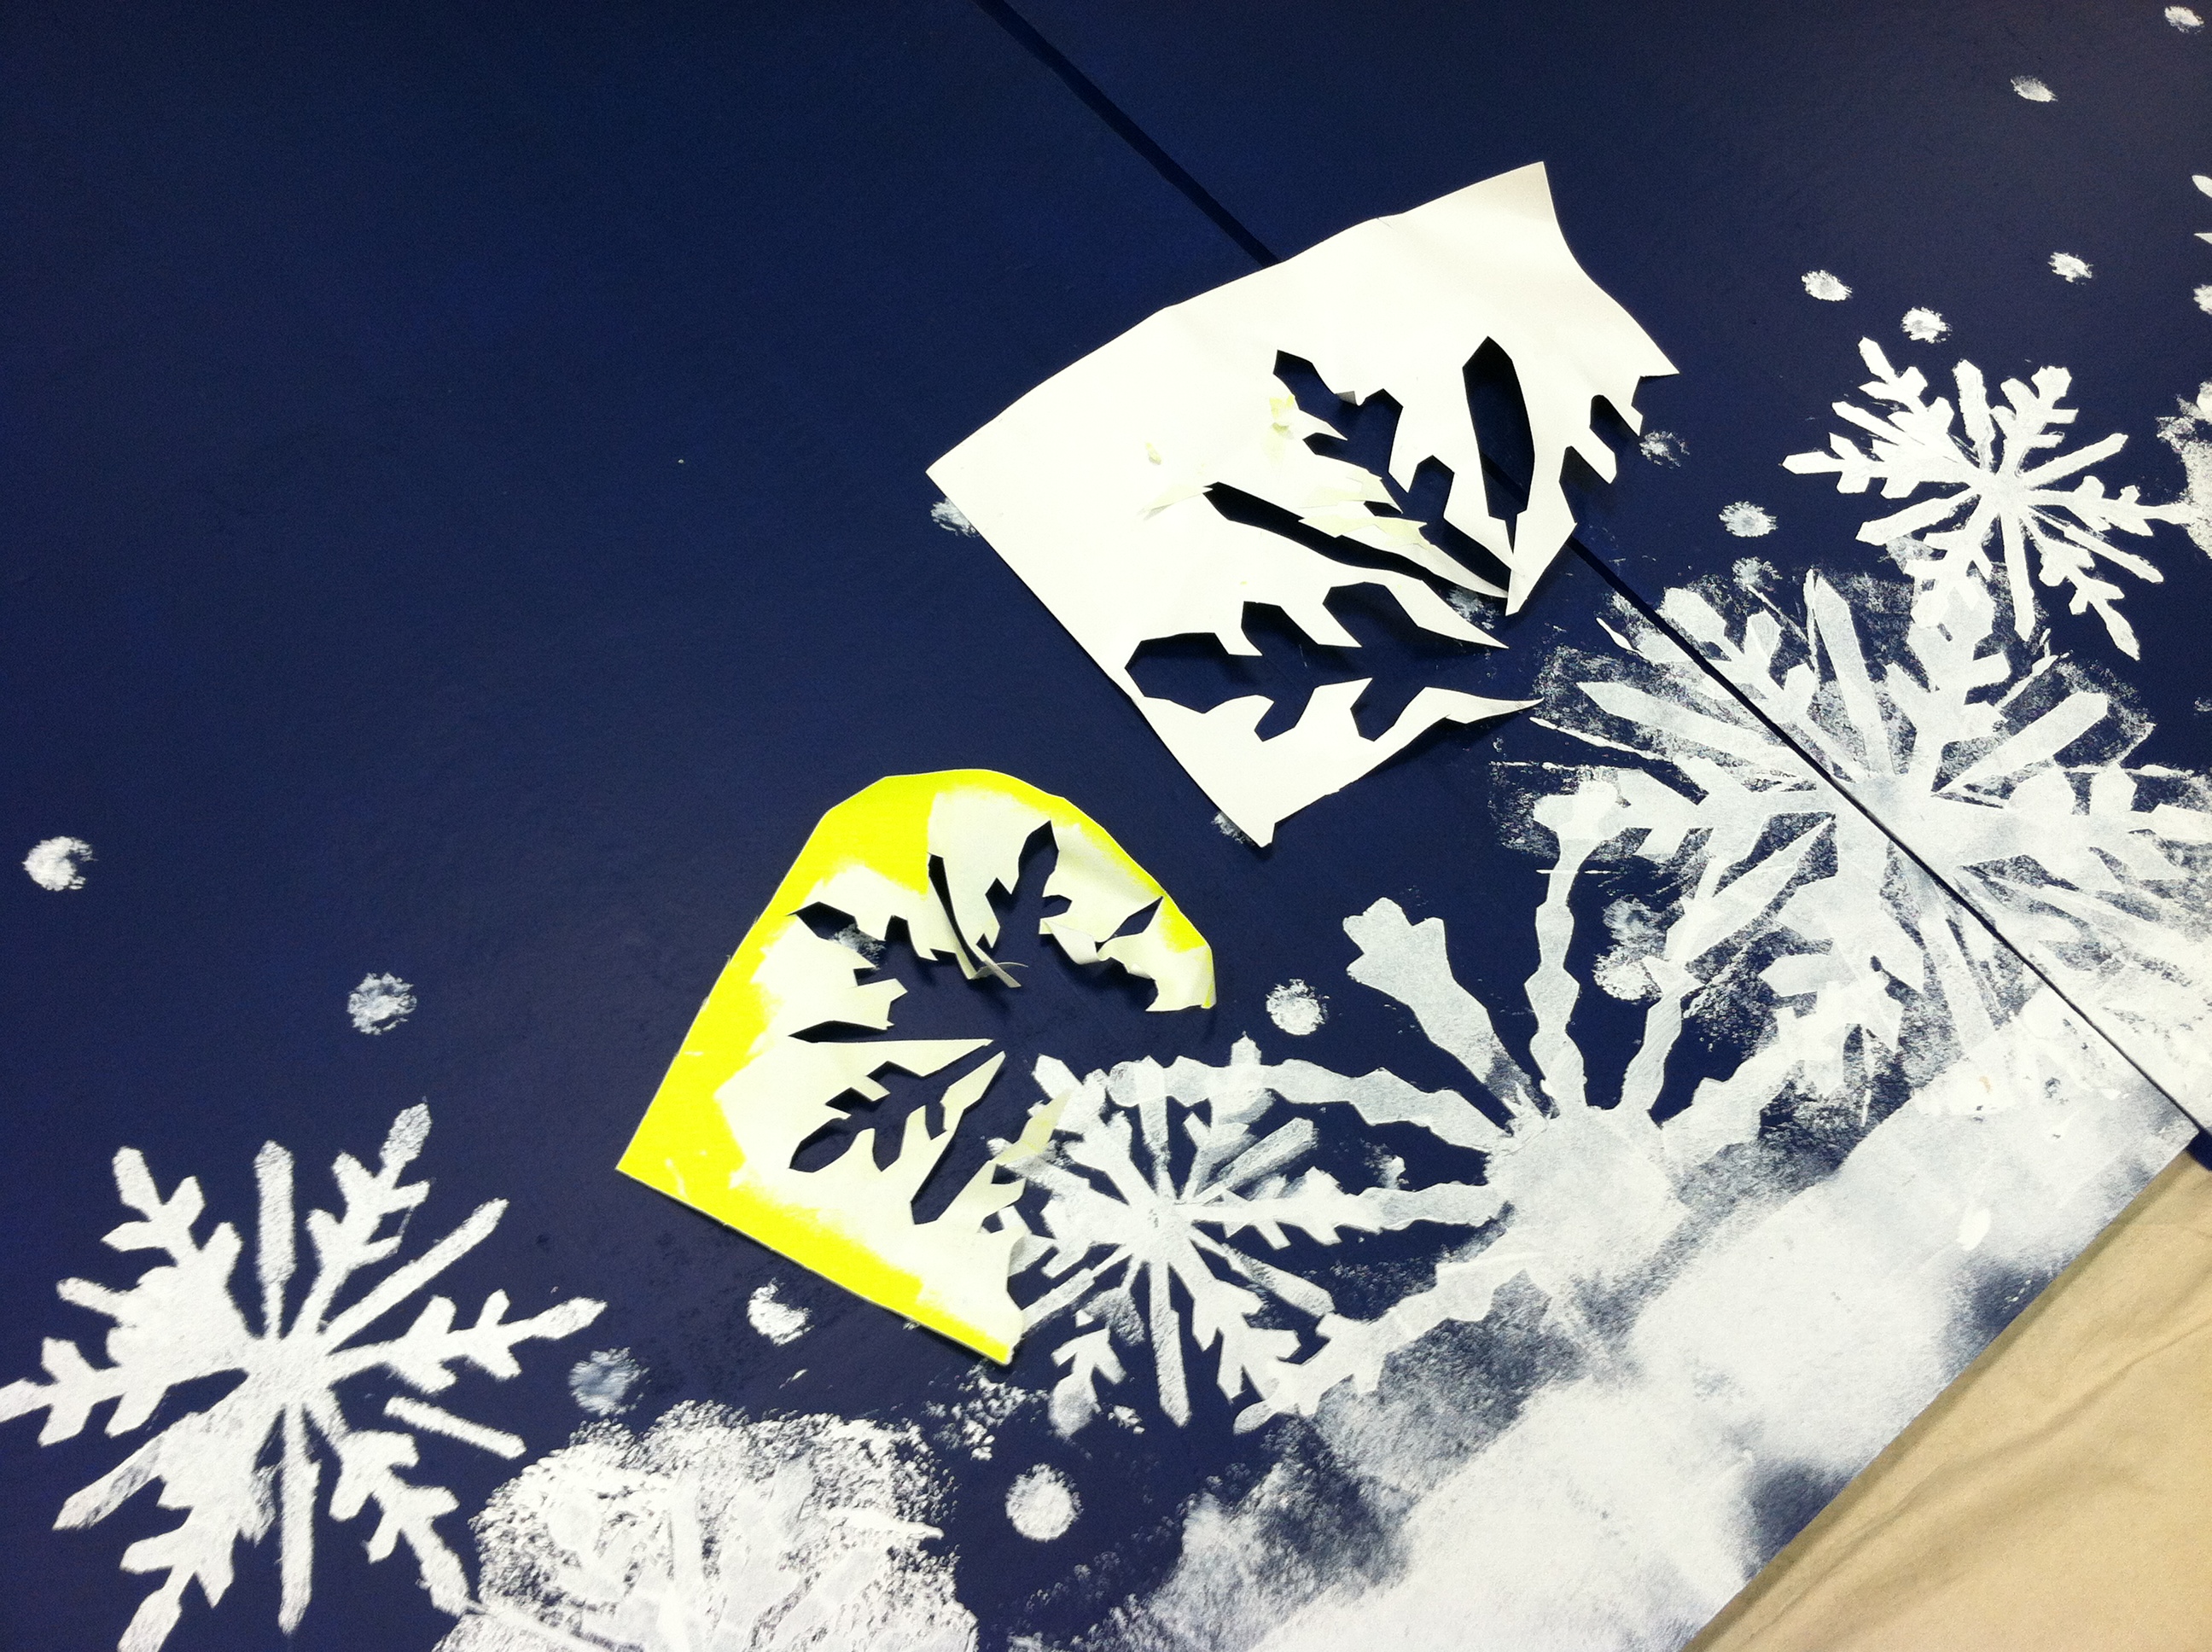
- We laid the snowflake stencils around the outer edges of the blue panels, overlapping them as we rolled white paint over the stencil onto the panels, creating a border. This was tricky because as the stencils got wet from the paint, they began to curl and then they got paint on the back. At first, it made a great snowy effect, but not long after, the stencil was not usable anymore. Be sure to have plenty of stencils to work with if you ever do anything like this. Also, spray paint did not work because the stencil did not lay flat enough and paint got underneath the stencil. Rolling over it with a small roller worked best.
- We enlarged the words “Play It Cool” from the graphic (using the projector and insulation foam for a 3-D effect). We carved the letters out with a hot knife and painted them white.
- We had the words “Trust It’s Worth the Wait” printed on a Photo Tex sticker and adhered it to a piece of insulation foam to match the 3-D dimensions of the carved letters. This was supposed to be part of the backdrop but our colors did not match the graphic the way we hoped, so we ended up attaching it to the front of the stage with velcro. It actually works well there because it ties our side screens into the entire set more than usual.
- We attached white batting to the floor of our stage.
- We hung white party decorations that looked like snowflakes from the ceiling throughout our environment.
- We created a “Chillinator” from insulation foam. Read this post to get the full process for how we created The Chillinator.
- Because The Chillinator took a lot of work, we wanted to have it on stage all month and have it used more than in just week 1, so we re-wrote the scripts to incorporate it each week.
- We sprinkled white glitter confetti on our registrations tables to resemble snow.
- We hung puffy white balls from our local party store over the registration tables to look like snowballs.