13 Sep Friendship – Lunch Room – September 2017; Process & Finished Product
Life App: Friendship—using your words and actions to show others you care.
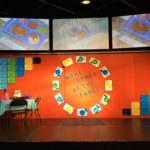
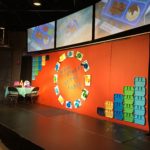
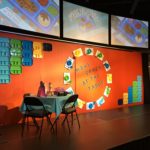
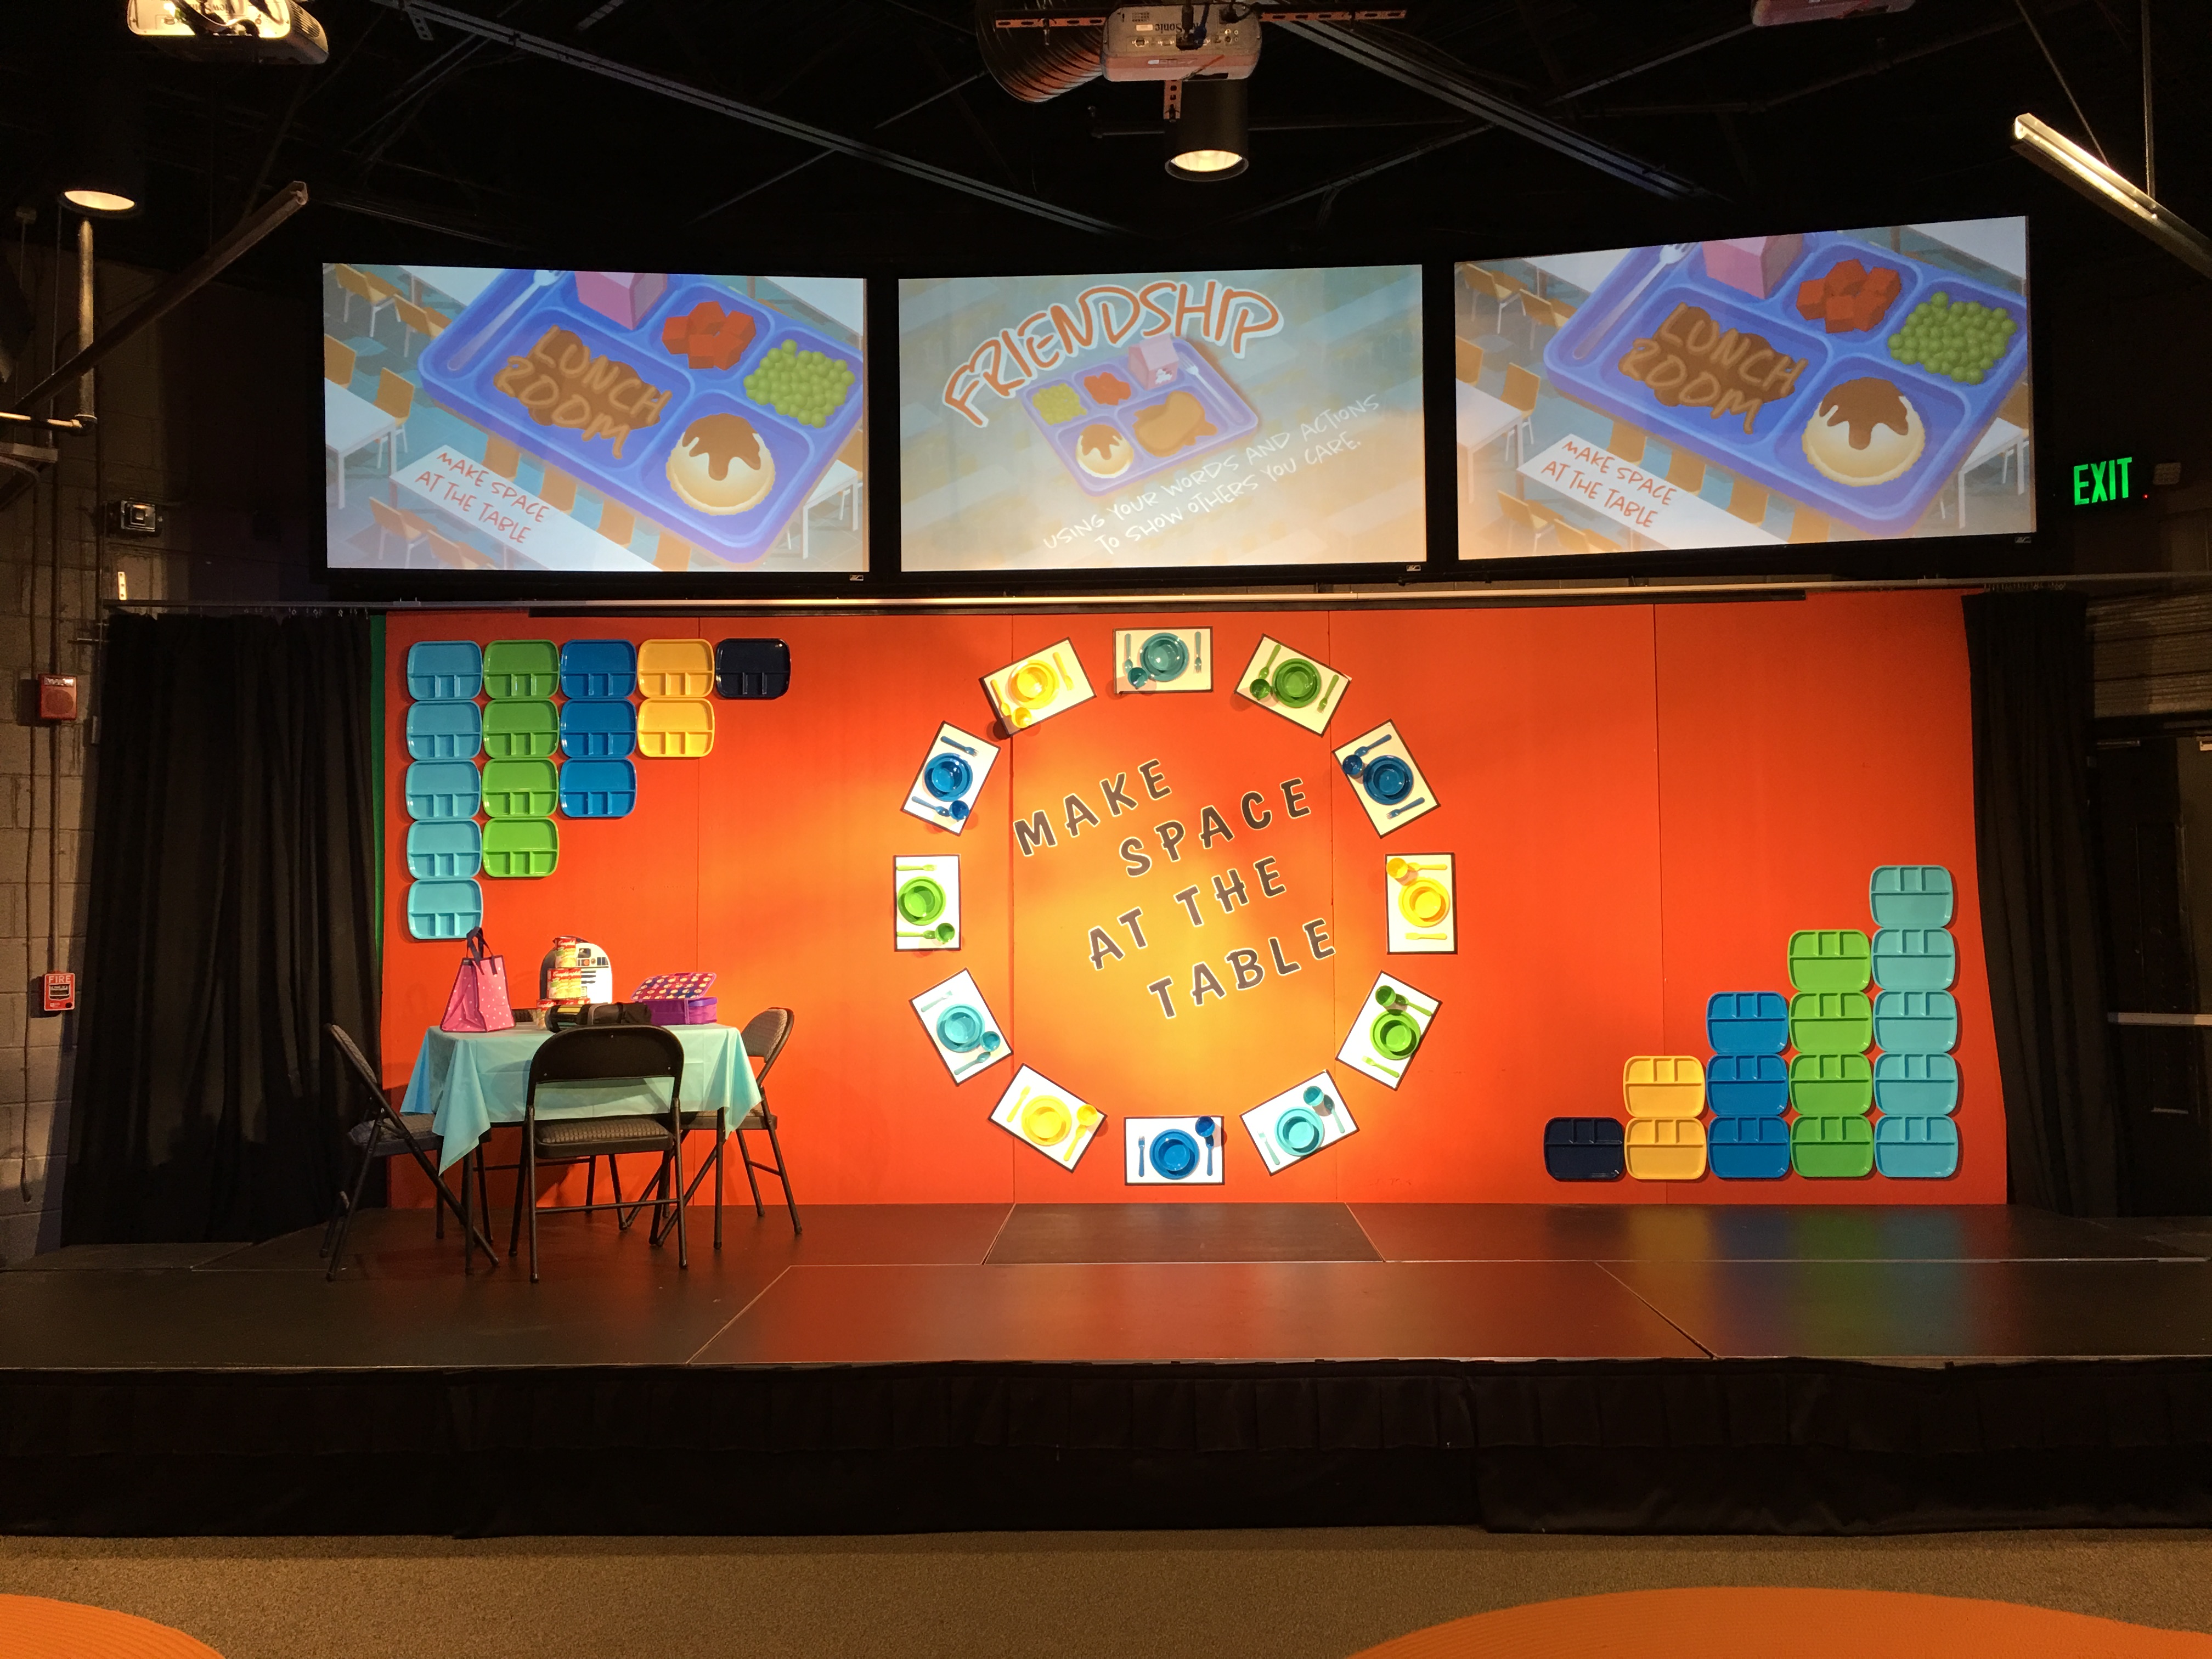
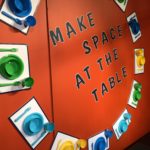
Theme: Lunch Room – Make Space At The Table
Date: September 2017
A Pleasant Surprise
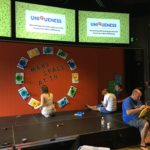
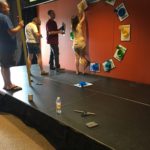
If you read the first two posts of this series, you know I was having some trouble figuring out how to create a fun and engaging set for this month’s theme. Well, I’m happy to say that I was pleasantly surprised by the way our set turned out. It is simple, bright, and fun. And, it’s been the perfect setting for our crazy “lunchroom” food games!
Changes On The Fly
In creating this month’s set – we had a definite plan in mind, but as we put it together we had to keep tweaking and make changes. I’m not sure if this is a common practice in design or if it’s just me because I am so visual, but sometimes I need to see something in place before I can tell if I like it or not (you should see when I change the paint color in a room in my house – swatches of paint everywhere!). That happened a few times as we put this set together:
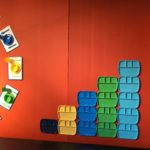
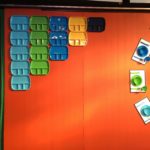
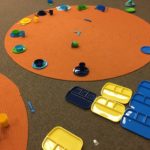
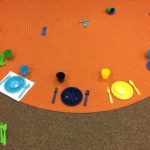
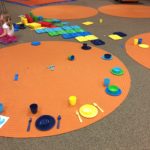
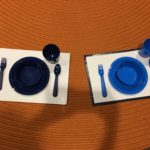
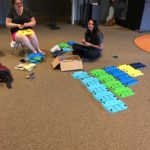
- The first time was when we were putting the place settings on placemats in the center circle. We tried so many configurations and patterns of color before we landed on the finished pattern. It doesn’t seem like a big deal, but certain patterns really looked confusing and random. The one we landed on seemed to work with the trays on the side and flowed well.
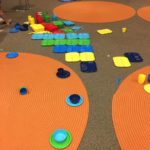
- The second time was as we looked at the white “placemats.” They seemed so boring and unfinished. One of our set design team members suggested creating a border, so we sent someone to the store to get navy-blue tape (that was the color that we were carrying throughout the backdrop) and placed a border on each one. It made all the difference!
- The third time was when we cut the letters for the center phrase, “Make Space At The Table.” We originally planned for white letters with a navy-blue shadow/border. As we placed the letters, we saw that the white was completely washed out and did not pop. We switched it to be navy-blue letters with a white border and again – it was a game changer.
Process Details
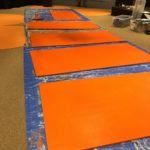
- We painted the insulation foam backdrop orange
- We hot glued the place settings to white craft foam
- We used navy-blue tape to create a border around the outside of the placemat
- We hung the placemats in a circle by inserting T-pins into the craft foam and pinning them to the insulation foam backdrop
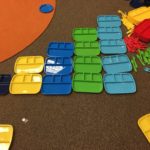
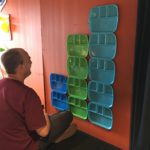
- We placed sticky back – velcro squares in each corner of the lunch trays
- We hung the lunch trays with a level to ensure they were straight
- We cut the letters for “Make Space At the Table” with a cricut (shadow effect for the white border)
- We glued the navy letters to the shadow, white border letters
- We used straight pins to hang the letters
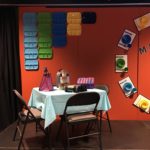
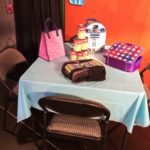
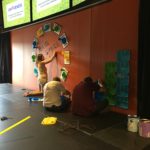
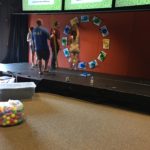
- We added a card table and 4 chairs in the corner of the stage
- We placed 4 lunchboxes on the table along with whatever we needed for the week’s game (i.e alphabet soup, cafeteria food, etc)
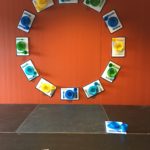
Our Finished Product
The backdrop seemed so simple and our stage seemed so empty after a full set of decor all summer, but it has been nice to have the extra room on stage. Sometimes simple is a nice change and we ended up loving the way this turned out.